AN PTFE hose and AN fittings Installation Instructions
Cutting your new hose.
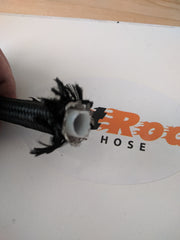
Step 1 - Measuring out your PTFE hose to ensure the proper length, ensure that you have enough hose to reach all components and are following the proper bend radius (you want to make sure you don't kink the hose and prevent flow)
Step 2- Marking your cut and protecting the nylon/steel braid. Using tape make a few wraps around the hose in the area you will be cutting to prevent the braid from fraying.
Step 3- Cutting your new PTFE hose, this step is important in ensuring you have a leak free install of the fittings. Be sure whichever method you choose that the cut is as straight as possible and you have removed all burrs from the PTFE liner.
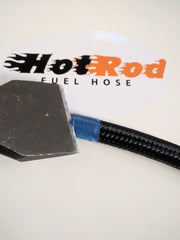
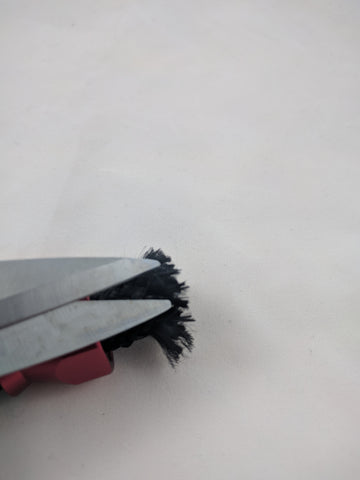
Recommended Method - Utilize Hose Cutting Shears - They can be found HERE This method of cutting those allows for the cleanest cut and the least distortion of the PTFE liner.
Wrap the hose in tape at the approximate cut location and mark the exact cut with a marker. Place the hose inside the shears, keep the hose aligned for a straight cut and compress the shears to cut.
Note: The following methods that we are showing on this page are methods that can be done using tools found around the usual shop. We recommend for the best install and for the job to be as easy as possible you can find specialty hose cutting shears as well as tools for installing fittings on our website.
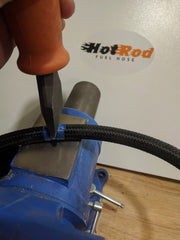
Method 2 - Utilize a sharp chisel and anvil. This method produces a clean cut for your fittings but does compress the PTFE liner. This usually is fine but be sure to strike hard in order to make the cut in one blow. Your chisel needs to be SHARP and will dull quickly cutting through the steel braiding.
Place your hose on the anvil and strike the sharp chisel with a heavy hammer to cut through the hose.
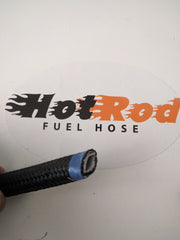
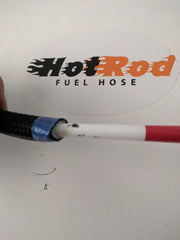
Utilize a marker, pen, or other instrument to round out the liner before installing your fittings.
Ready to install fittings.
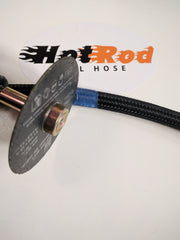
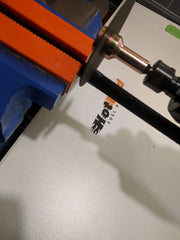
Method 3 - Utilize a cut off wheel on an air or electric die grinder. Using a thin cut off wheel you will hold the hose in a vice and apply light even pressure to allow the cutoff disc to cut through the hose. This method cuts through the braiding very easily it is very important that your tape is tightly wrapped around the liner or the stainless braiding could fray and cause difficulty installing the nut also due to heat can cause the PTFE liner to distort slightly. Be sure to inspect your cut after using this method that it has not overly distorted the liner and result in a poor seal to the fitting.
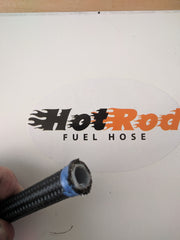
Inspect your hose to ensure a good seal with the fitting.
Method 3 - Utilize a hack saw - This method produces a clean cut on the PTFE liner but is more likely to fray the steel and nylon braiding. If using a hack saw be sure to have a higher TPI (teeth per inch) count blade, apply even pressure, and do your best to keep the blade straight as a crooked cut will result in a poor seal on the hose fitting.
Installing your PTFE hose end fittings.
Step 1 - You will have 3 components to each fitting that you will need to install onto the hose. Your fitting, your ferrule, and your nut. First insert the nut onto the hose the tape will help to prevent the nut from catching on the stainless and/or nylon braid.
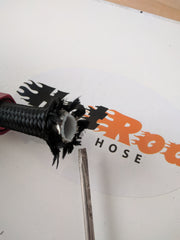
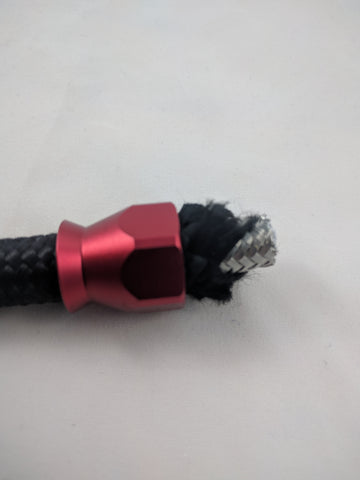
Step 2 - Utilize a small screwdriver or pick to gently expand the stainless steel braiding. This will allow room to install the ferrule.
Step 3 - If installing black or colored hose it is advisable to trim back the outer black or colored braiding. This will prevent the nylon from bunching up under the nut. Only a small amount of material needs to be removed. If you cut too much braiding the nut will not cover the braid and it will be a poor install.
Step 4 - Install the Ferrule onto the PTFE hose liner. Be sure no strands of braiding get between the Ferrule and the PTFE hose liner. This Ferrule is what compresses within the fitting and creates the seal and prevents leaks.
Note: That while these fittings are reusable the Ferrule is not, once the fitting has been tightened and the ferrule compressed you must use a new ferrule if you reinstall the fitting.
Step 5 - Get ready to install the AN hose end fitting (optional - lubricate the nipple on the fitting with a light oil to aid installation). Insert the nipple into the Ferrule and hose, press on until bottomed out. You may need a vice to aid you.
Step 6 - Bring the nut towards the fitting while being careful not to catch the braiding. It helps to apply pressure to the braiding while you work the nut towards the fitting. Start to hand tighten the nut.
Step 7 - Place your new fitting into a vice on the nut end and select the correct size wrench for the fitting you are installing.
STOP - These fittings are constructed of Aluminum and are easily marred and scratched when using steel tools. Be careful and utilize the correct size of wrench and protect the fitting in the vice. A wrap of electrical tape around the fitting can prevent markings.
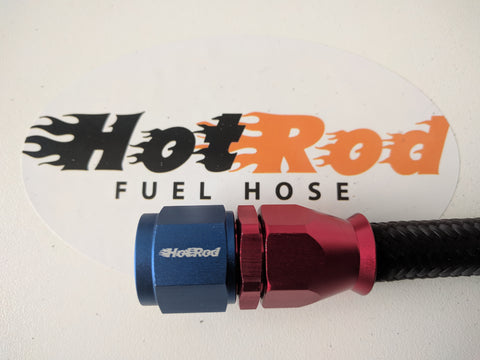
Step 8 - Tighten the fitting until you have approximately a 1mm gap between the fitting and the nut. Align the nut and fitting faces for a professional looking install.
Congratulations - you have successfully installed your AN fittings onto your new PTFE hose by Hot Rod fuel hose.
Step 9 - Pressure test your lines to ensure that you have installed the fittings onto your PTFE lined and braided hose correctly. A gauge is not necessary but it helps to ensure you don't over pressure the line.
*Important - Once you have installed your new hoses onto your project thoroughly check the system for leaks. Do not run the system if a leak is detected. As most AN braided style hoses are run on performance vehicles they experience harsher environments than stock vehicles during use, you should periodically inspect them to ensure no leaks have developed or damage has occurred.
Our Most Popular Items
Finish that Hot Rod today!
-
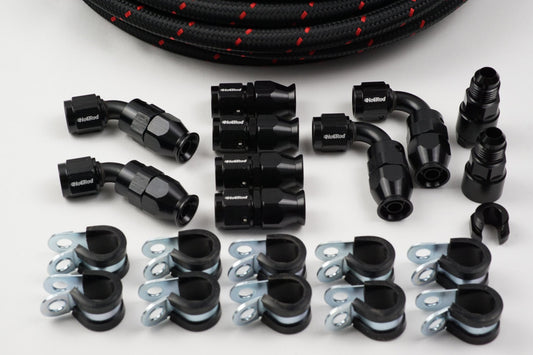
Return Style LS engine Fuel line install kit
Regular price From $305.00 AUDRegular priceUnit price / per$375.00 AUDSale price From $305.00 AUDSale -
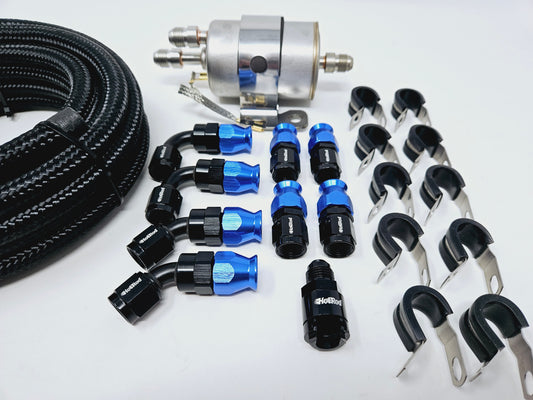
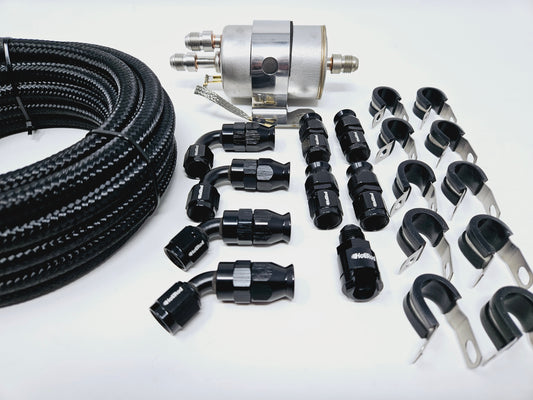
Return-Less Style LS engine Fuel line KIT
Regular price From $433.00 AUDRegular priceUnit price / per$503.00 AUDSale price From $433.00 AUDSale -
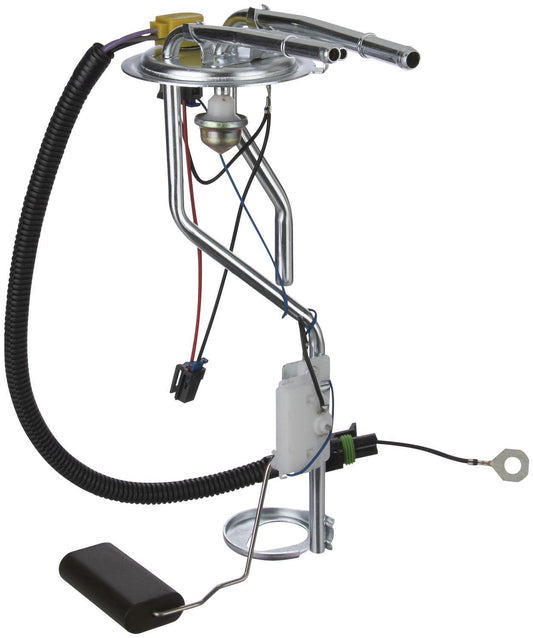
Spectra Premium Squarebody 1987 + Sending unit for LS and EFI
Regular price $185.00 AUDRegular priceUnit price / per -
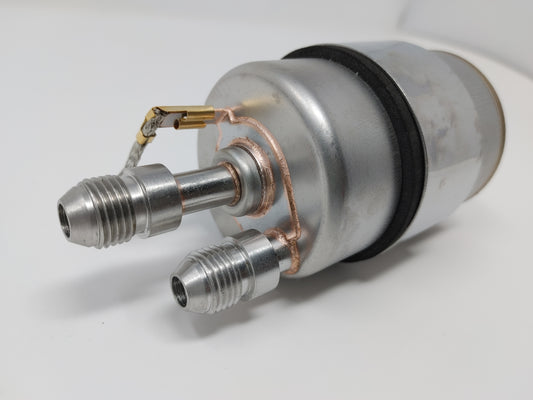
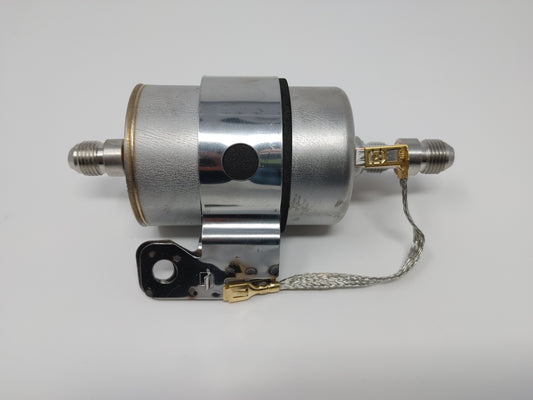
Corvette style filter/regulator with built-in AN6 adapter fittings
Regular price $129.00 AUDRegular priceUnit price / per